With classes and the new job it's been hard to stay on top of blogging and come up with new house projects. But I couldn't resist the warmer weather this past week. So, I decided to undertake a much pondered-over back yard project: the dining patio.
We have a picnic table that we love (Texas flag style), but our yard is very uneven. For a long time we've been looking for a way to level off some space. I didn't want to tear up the grass and then have to replant. A deck was out because we don't have a door into the backyard. A stone patio was out because of water run-off issues. With the houses so close together, I don't want to cause flooding in my neighbors' yards. So what to do?
Naturally, TOH answered my questions. When the most recent
issue came out, the cover story was on patio designs.
One option was a gravel "sandbox style" patio. I liked it. So, I went with it. Here's my design:

From this This Old House design, I added a raised planter box and lattice backing with hanging lanterns. I also sketched in our picnic table to make sure the box was wide enough for people to get in and out.
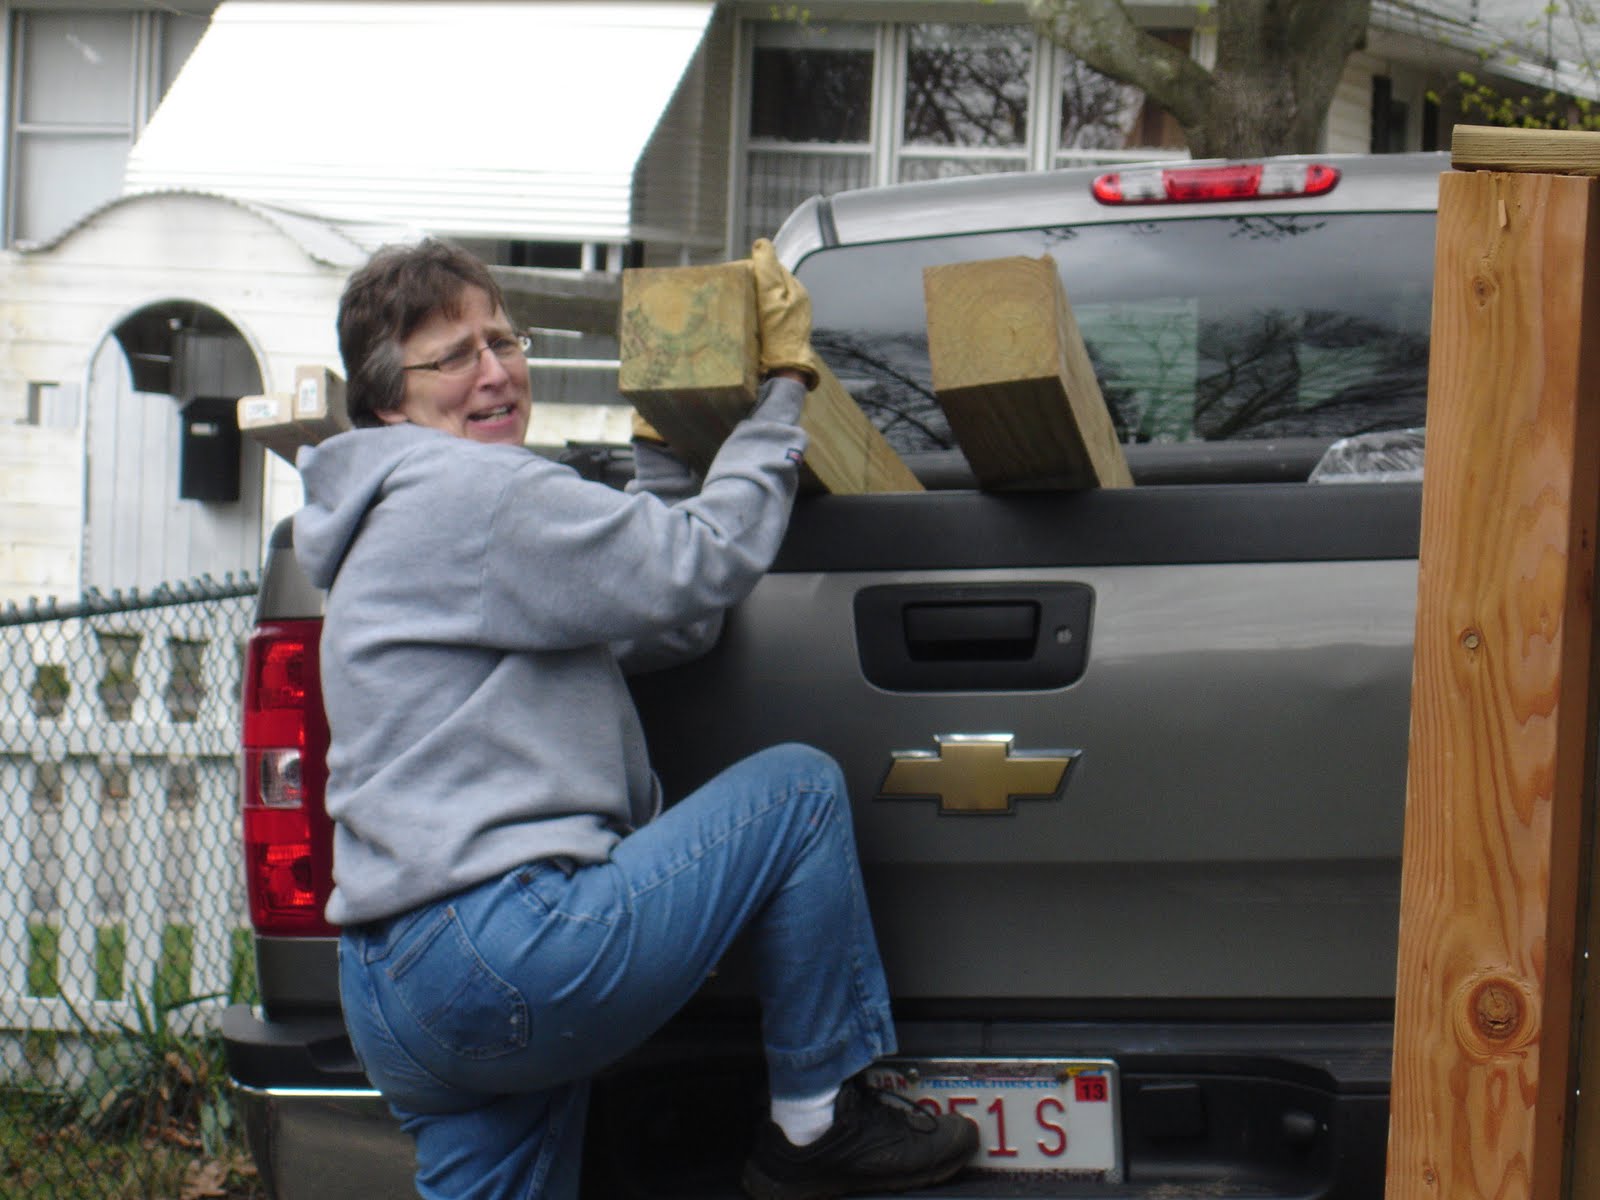
My Shopping list: -4"x4"x8' timbers (4)
-Six 2' pieces of rebar.
-Four corner brackets
-14 cubic ft. of crushed stone
-14 cubic ft. of pea gravel
I'll need more materials later, but this will get me started.

 Gilligan, as usual, was a great help on this project. While it took some convincing to get him in the wagon, he refused to get out after enjoying a trip around the yard. I think I may have created a wagon monster.
 Getting the stone in place before dumping, raking, and tamping.


 The first step was to figure out how to setup the backing. I decided to do three panels, with the middle panel being higher than the others. I'm adding a 1"x4" backing to add support and to give the lantern/plant hangers something to grip.
 The hangers are leftovers from last year. I'm not quite sure why I bought them, but they work perfectly here.
 Assembling the panels was pretty easy.
 I drilled the panels into the 6"x6" timbers. The bottoms of these panels will be covered in gravel later.
 And since I had some extra time, I got the grill all shined up and ready to go for summer.
 I'm not sure if there is a "right" way to level off timbers, so I adopted my own technique. Dig, level, stuff dirt underneath, level, repeat. It took a long time, but I saw the results I wanted.
 Thankfully, my landscape edger was the same width as the timber. I used it to cut out blocks of grass.
  Next, I put in the bars to secure the timbers to the ground. I also added some corner brackets to shore-up the frame.


 Gilligan came outside to help. Being afraid of hand tools, powertools, and banging noises, he spent most of his time eating plants and sunning himself. Not a great helper, but he sure is cute.
  And we have a frame! Next weekend: lattice and fill.